Our Household Energy Usage History
| year | Elec kWh | Gas kWh |
|---|---|---|
| 2018 | 4,500 | 16,000 |
| 2019 | 4,500 | 16,000 |
| 2020 | 5,500 | 16,000 |
| 2021 | 5,500 | 17,000 |
| 2022 | 4,500 | 13,000 |
| expected | ~5,000 | ~16,000? |
| year | Elec kWh | Gas kWh |
|---|---|---|
| 2018 | 4,500 | 16,000 |
| 2019 | 4,500 | 16,000 |
| 2020 | 5,500 | 16,000 |
| 2021 | 5,500 | 17,000 |
| 2022 | 4,500 | 13,000 |
| expected | ~5,000 | ~16,000? |
This page contains our notes about our proposed solar PV installation.
“A little knowledge is a dangerous thing”, so the saying goes. I am no expert on these matters, just technically savvy and curious to learn and understand it all. I’m hot on electrics, physics, geometry, calculation; but weak on the practicalities in this industry. That’s why we’re approaching installers for their expertise in design and installation. Not everything here may be correct or make sense.
I am learning as I go along, starting in November 2022.
Contents:
Yes we need more powerful auth options but no we don’t want each service implementing its own sign-on and security code, we don’t want more user-visible complexity that’s specific to Jellyfin and works differently from our other self-hosted services. So…
Instead, help the whole self-hosting ecosystem by supporting standard external auth / SSO such as OIDC:
–> https://features.jellyfin.org/posts/230/support-for-oidc (support SSO / OIDC)
which can then provide all those great authentication options like 2FA.
Continue reading “Jellyfin Feature Requests: 26: Add support for two factor authentication: comment”
I have a cough and a cold. I followed a recipe for home-made cough mixture. Cider vinegar, honey, ginger, cinnamon, Cayenne pepper. Potent, and rather delicious to someone who enjoys the tastes of vinegar and spices and sweetness. It evokes childhood memories of the silky black-brown Galloway’s cough syrup.
These remedies smell nice and feel like they are doing good. I have no evidence that they are more effective than cheaper and simpler alternatives. Honey and lemon and ginger is good, or just gargling with salt water.
My home-made cough mixture is a light muddy brown and I can see the spice particles floating around in the small ramekin dish. Perhaps if I add black treacle and put it in a dark glass medicine bottle, like Galloway’s, it would have a stronger placebo effect and appear more valuable.

Sellers of Snake Oil long ago touted their concoctions as effective remedies for anything, presumably asking a fortune for each little bottle, until the term became a by-word for a scam. We do not look kindly upon scammers.
Recently I noticed a file named “snakeoil” on my computer. My suspicions were raised at first sight, but it is not a virus. It is a digital certificate created by the operating system. Let’s take a quick look at digital certificates and why this one is so named.
Leaving Apple’s Nursing Home
This series is about replacing a MacBook Air with an equally beautiful Freedom Software laptop. It is also about setting up a Freedom Software laptop for the kind of user who wants it to Just Work with the least possible involvement and no interest in how it works.
Part 1 of this series was about the rationale and the hardware.
Part 2 of this series was about choosing and configuring the software.
Continue reading “From Mac to Freedom Laptop 3: Data Recovery”Leaving Apple’s Nursing Home
This series is about replacing a MacBook Air with an equally beautiful Freedom Software laptop. It is also about setting up a Freedom Software laptop for the kind of user who wants it to Just Work with the least possible involvement and no interest in how it works.
Part 1 of this series was about the rationale and the hardware.
Our leaving Apple is, fortunately for us, much easier than for someone who has both feet firmly planted in Apple’s walled garden.
Continue reading “From Mac to Freedom Laptop 2: Software”Leaving Apple’s Nursing Home
This article tells how we replaced a MacBook Air with a freedom-software laptop, aiming to keep it delightful to use and to carry about, while standing up in support of the principles of freedom of the users, freedom from the control and lock-in that Apple wields over its users, its subjects.
It’s terminal. The diagnosis is the soldered-on RAM has failed. Technically speaking it could be repaired, but it’s not worth it. We need a new laptop.
This is the opportunity. We have to make an effort to replace this and set everything up again, one way or the other, so can we make the effort to switch to freedom software at the same time? Why should we?
While we should choose our direction according to our values and principles, we all find it hard to see and evaluate the big picture.
Apple promises to sell us a world in which “our” computer systems do what we want and what we need, easily and quickly and beautifully. At first sight, that is indeed what their products look like. Only when we dive deeper into their ecosystem, that is when we begin to learn how controlling they are. Devices we buy from Apple are not “ours”, they are tightly controlled by Apple. Apple restrict both what we are allowed to do (legal controls) and what we are able to do (practical enablement). Let’s see an example of how this works out.
As long as we play along inside Apple’s walled garden, everything smells of roses. Now let’s try to message a friend who has not bought Apple, or share photos with them. Suddenly we hit the wall. Our friend is Outside, and Apple has locked the doors. But it’s OK, we say, they’re not blocking us, look, we just need to install and sign up to Facebook’s WhatsApp or Google’s Photos because that’s what our friend is using. That seems to work. Why? Because Apple chooses to unlock the door for us to install those particular apps, according to agreements with those particular vendors. Apple only lets us install software from their own store, and they only let in software that conforms to strict Apple-centric rules. That’s very strongly enforced on iPhones, with MacOS moving swiftly in the same direction. The marketing message that says this is all to protect us from nefarious cyber threats. Who could deny that there is a grain of truth behind that? Yet the unspoken reality is they are mainly protecting their control over our digital life.
Besides, installing another app to meet a friend outside this garden only “works” in a crude way: it still does not allow us to invite our friend to meet us in our current messaging system. Instead we have to go and visit them in one of those separate, equally proprietary walled gardens, where we can’t share our photos and contacts and messages directly.
It’s not only Apple. Google and Microsoft are doing it too, while Apple and Amazon wield the tightest restrictions over their users. If you were not aware how bad it is, try reading up about how the vendors can remotely install and uninstall software on what they like to call “our” device.
Two of the most readable short articles illuminating this sad state of affairs are Your Phone Is Your Castle and The Future of Computers: The Neighborhood and The Nursing Home by Kyle Rankin. The author is the chief security officer of Purism, one of several small companies that are passionately contending to change the landscape by offering a digital life characterised by principles of freedom. Freedom in the sense that we the users are in ultimate control of our digital data systems, not the other way around. “As a social purpose company, Purism can prioritize its principles over profit. The mission to provide freedom, privacy, and security will always come first.”
Another player is /e/ Foundation (“Your data is YOUR data!”), bringing us de-Googled Android phones. These phones can run without any dependence on or control by Google: instead the user is in ultimate control. The irony of Android being marketed as an “open source” operating system is that only parts of it are open source and people have had to expend a huge amount of effort to build replacements for Google’s proprietary parts. But now the huge efforts of many volunteers over many years, now beginning to be augmented by some small companies including /e/, are paying off and these alternatives exist. Read more in, for example, a late-2020 interview in The Register.
These companies are formed from small groups of people following their beliefs. Together they are building the next wave of the freedom software movement that is perhaps most widely known as the Linux world. Taking the idea far beyond freedom to re-use and re-mix just individual software programs, they are bringing freedom now to the world of connected digital services that we use to store our family memories and to communicate with one another.
Back to laptops.
A few big-name manufacturers make a few of their models available to buy with Linux pre-installed. Sadly they hide rather than promote this option, seeming to consider it merely a necessity to satisfy certain business customers, and offering little beyond a basic default installation which could easily be done at home.
The best way to support freedom software, and to get a machine that is already properly set up for it, is to buy from one of the small companies that specialise in it.
A DuckDuckGo web search for “Linux laptops” found plenty of starting points, some articles listing the favourite mainstream laptops that people like to run Linux on, others listing the specialist companies that sell Linux laptops.
I ended up looking at both alternatives: buying a mainstream laptop, likely second-hand, or buying a new laptop from a specialist. The category I am looking for this time is slim, ultra-light or “ultrabook”, around 14″ screen size, to replace the feel of a MacBook Air.
Best liked mainstream laptops this year seem to be first Dell’s XPS 13 series, and second Lenovo’s ThinkPad X1 Carbon series. Each range covers a wide range of specs.
Specialist linux laptop vendors include System76 (such as their Lemur pro), Purism (e.g. Librem 14), and Pine64 (e.g. PineBook pro), along with several more. Some make their own hardware, and others buy mainstream or OEM hardware and customise it. Most offer a choice of operating system, all based on well known open source OS’s (the GNU/Linux or *BSD families), sometimes customised or own-branded.
Then I found Laptop with Linux.com, a trading name of Comexr B.V. in the Netherlands. They sell a range of laptop styles, all based on the OEM brand “Clevo”, and have a lovely set of customisation options ranging from hardware components to setting up disk encryption, choosing installed applications and choosing my user login name. None of that is anything I couldn’t do at home, but it shows they go further than a basic default installation of the OS and it genuinely will save me some time and effort. For me, they offer the extra advantage of shipping with UK tax and duties already included.
To begin with, I could not accept the cost of buying new, as machines I considered decent spec were available for hundreds of pounds less. Eventually, I re-balanced my assessment in favour of buying something that is intended to last for years, and I mean ten years. The hassle of changing from one computer to another, setting everything up and getting used to the differences, can be realistically valued at tens of hours. From that point of view, it made sense to buy something new and high spec so that it doesn’t seem too terrible after many years.

So it is that I am ordering the Clevo L141MU 14-inch Magnesium Laptop. I will go for a mid-to-high hardware spec, particularly focusing on speed because I want it to be pleasant to use, and mid-level RAM and SSD capacity because this is an upgradeable computer and the prices of those will come down. RAM in particular can be upgraded later with no hassle. Upgrading the SSD later would require externally copying its contents to the new one which might be an evening’s work.
It is even lighter than the MacBook Air it replaces, and just fractionally less thin.
Many of us want to support green energy. We keep hearing we can play our part by switching to a “green tariff”, and we can.
Sadly there is a big trap that we need to learn to recognise: the “green tariffs” advertised by many suppliers are a deceptive marketing ploy known as “greenwash”.
Look for explanations and advice from independent organisations to identify the (very few) good green options. Price comparison and switching web sites can be misleading. Some good resources are:
The core of the explanation is this. When we ask our mixed-source energy supplier to switch to a “green tariff”, the main things that happen are trivial accounting exercises that do not result in any less brown or any more green energy being bought or sold or produced.
First, let’s be sure we understand that our electricity is supplied by pouring all the sources into the National Grid, and delivering a portion of the mix to our home like from a tap on a water pipe. There is no technical way to separate out which bit came from which source.
Therefore any claim like “we deliver 100% green energy to your home” is already misleading. The only thing we can potentially achieve by switching is to redirect the money from our bills away from brown sources and into green sources.
What really happens? When we switch to a “green tariff” from our mixed-source energy supplier, they may “allocate” to us (on paper) a portion of the existing green energy supply that is really shared among all their customers, thereby deeming the non-green-tariff customers a corresponding bit “browner”, not redirecting our bills towards green supplies, and not changing the overall supply or demand at all. Or they may claim “offsetting” or “matching”, cheaply buying up certificates that prove a green source generated that amount of energy. Indeed it did, but not for us, not because of our switching.
They may round it off with talk of tree planting to help us forget about questioning the technicalities.
Companies’ marketing material, price comparison websites, staff on the phone, and even rules from energy regulator Ofgem aren’t helping customers understand…
— Which?
The “green tariff” has been advertised for so long and so widely that it is hard to believe it does not mean what it ought to, hard to believe the industry has got away with such misrepresentation, but this has been going on for years and still is the case in 2021.
If we have already switched or were planning to do so, we might feel deceived. But there is something we can do.
The conclusion is simple. Search for articles like those linked above, that list the few suppliers that directly buy or produce renewable energy, investing their customers’ bills into increasing renewable generation. The way for a consumer to make a difference is to switch to one of those suppliers.
I first mentioned this issue years ago in some notes on Wind Energy when I lived in sight of a wind turbine and decided to make the switch.
Disclaimer: I have no connection to the industry besides being a customer and bond holder of Ecotricity.
I am running an OpenWrt open-source router, at last.
Dave kindly donated me the hardware three years ago, when I spent many happy and frustrating hours installing OpenWrt for the first time, bricking it, recovering by connecting a serial port inside it, and eventually finding the OpenWrt configuration interfaces at that time were just too complicated for me to navigate.
It sat on my desk ever since then, unused.

This week, our noddy little ISP-provided router keeled over.
All I did was try to change its upstream DNS server addresses to point to AdGuard’s ad blocking service. There was a simple web UI to enter the addresses, but, after doing so, its web UI promptly and permanently died and would not come back. Its DNS gateway function and SSH access died too, while some functions such as its basic routing and port forwarding continued. I tried power-cycling the router, of course, but avoided doing a factory reset because then I would lose my port forwarding that provides access to my self-hosted services such as Matrix and contacts and calendar, and would not be sure I could reconfigure everything. I was able to regain internet access temporarily, by manually configuring each of our devices to use external DNS server addresses instead of the router’s local address.
Well, I didn’t like that router anyway. Its UI was slow and awkward, its features were very bare and its WiFi was weak. (It was a Sagemcom 2704N, also branded PlusNet and Technicolor.)
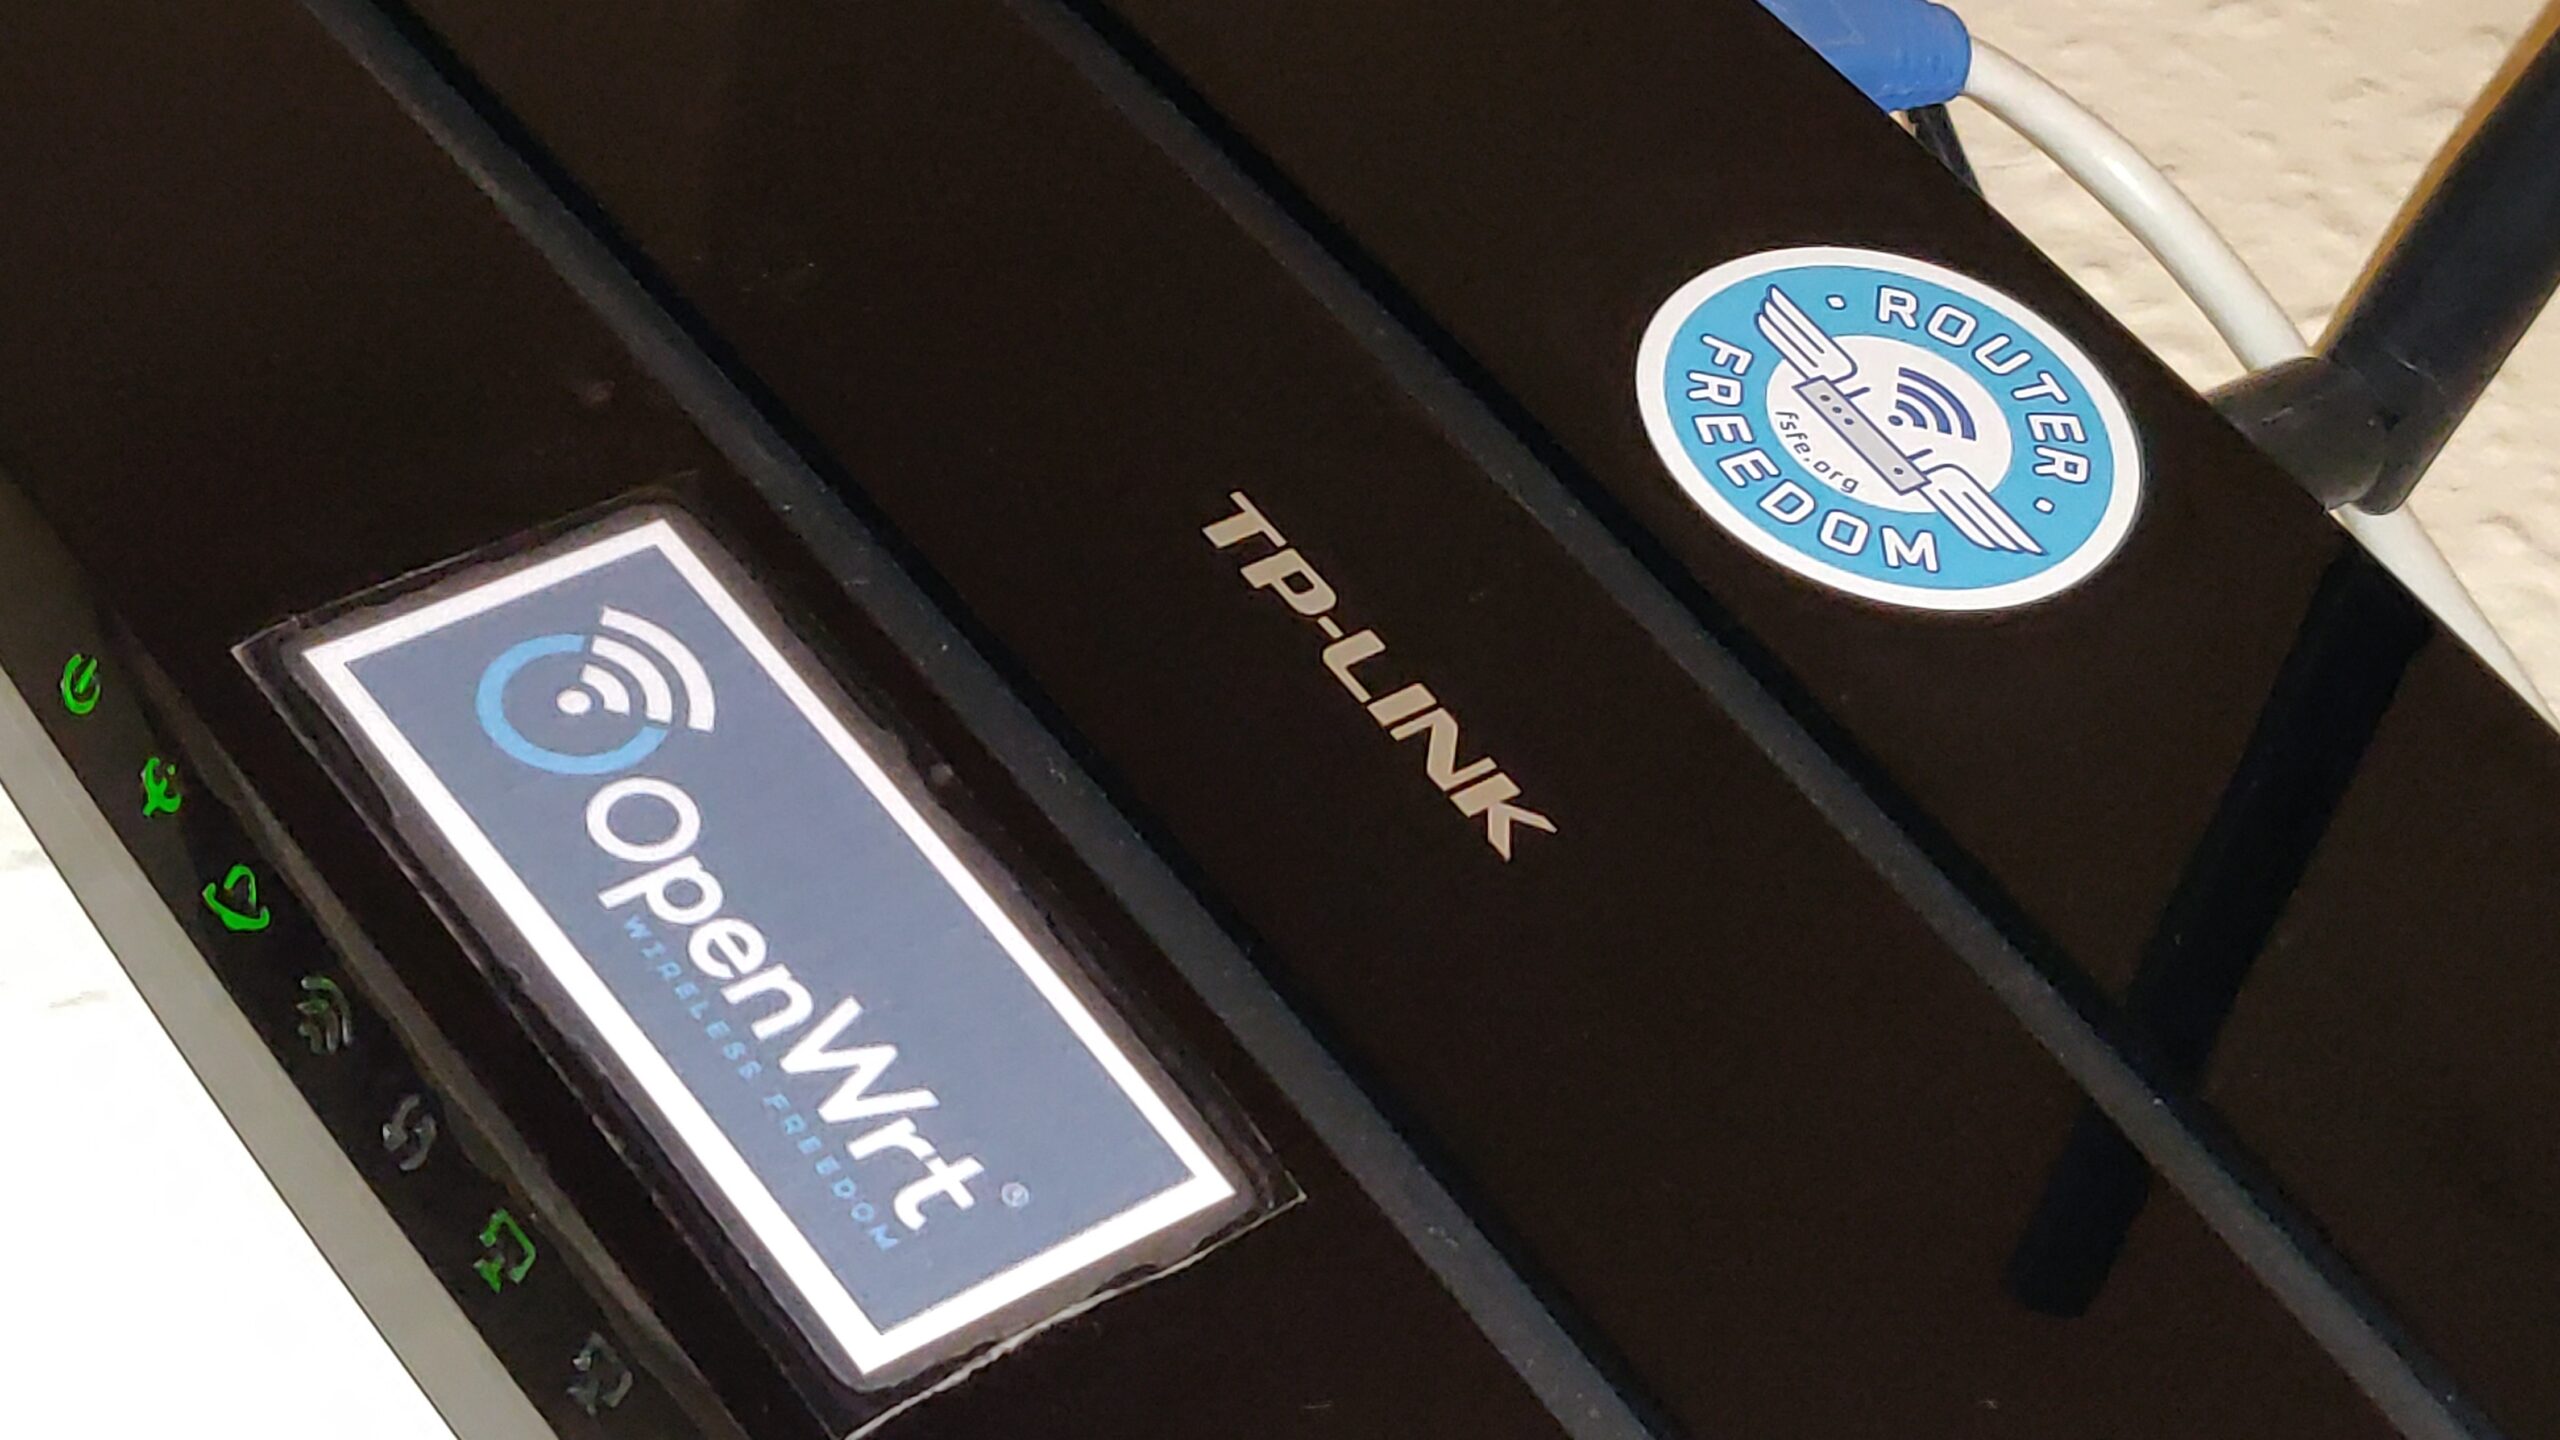
So it was that I took a second look at this TP-LINK TD-W8970 router.
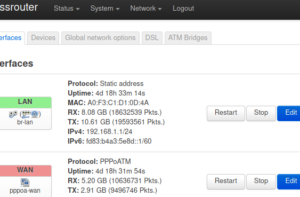
A pleasant surprise awaited: I found that OpenWrt had just the previous week released a major update, a 2021 version, a year and a half since their previous 2019 version, and it looks much more polished. A quick in-place firmware upgrade, followed by many hours figuring out how to make and manage the configuration, resetting, starting again from defaults, and it’s now all working. ADSL WAN connection, wired, wireless, and my port forwarding rules for my servers, and some bits of static DHCP and static DNS hostname entries.
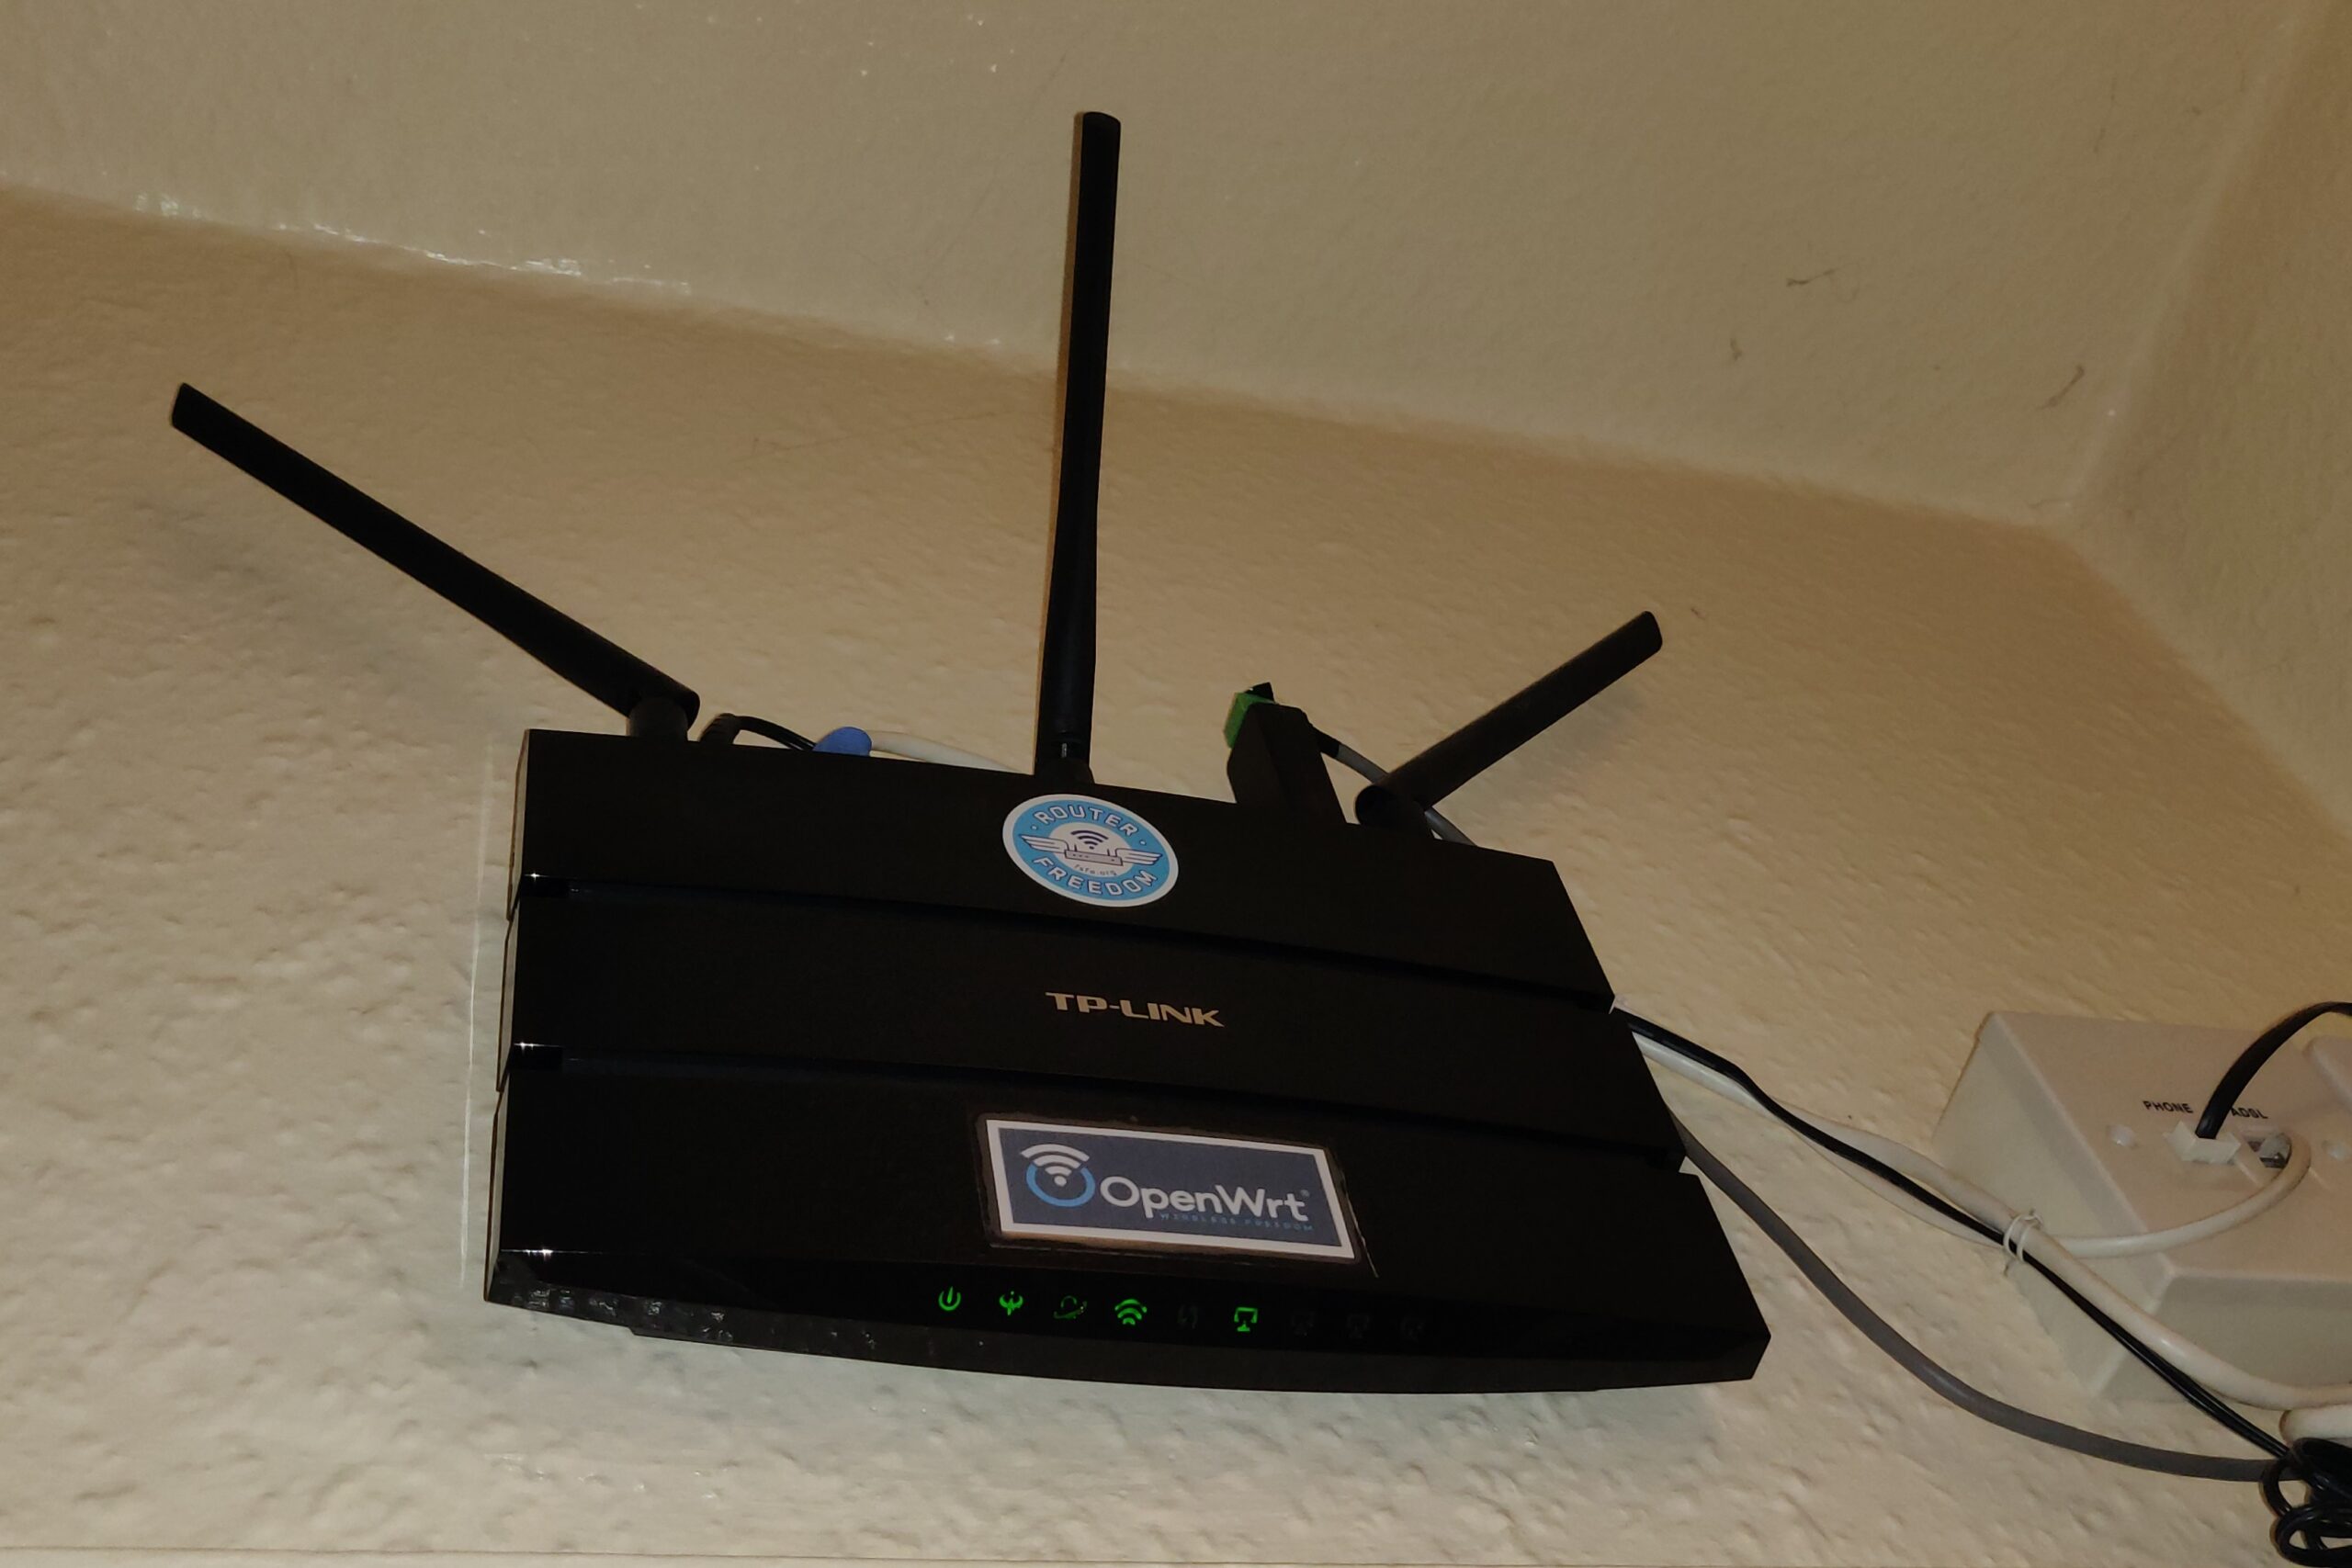
Where the previous router had hung lopsided from one screw, to make a better impression and improve its chances of acceptance by the family I screwed it neatly to the wall and tidied the wires.

None of these benefits seen by the ordinary user are unique to OpenWrt, of course.
Ad blocking was the trigger for this whole exercise. I had previously been considering self-hosting either Pi-Hole or Adguard-Home. Recently I learned that AdGuard DNS service is currently available free of charge, simply by setting it as the router’s DNS server address (or, less conveniently, by overriding the setting in individual devices). While less comprehensive and customisable than a self-hosted ad-blocking DNS server, for the time being the convenience and simplicity of this solution wins.
The new router is faster in a few ways: faster WiFi connection speeds; faster access to self-hosted services such as backups enabled by gigabit ethernet (up from 100 Mbit) for the wired connection; and (probably) some faster software operations such as DNS where the previous router often seemed responsible for delays of several seconds.
Where OpenWrt shines is in the features I use for self-hosting services, and how I will be able to manage it over time.
Because it’s open-source software:
Because it’s software for professionals:
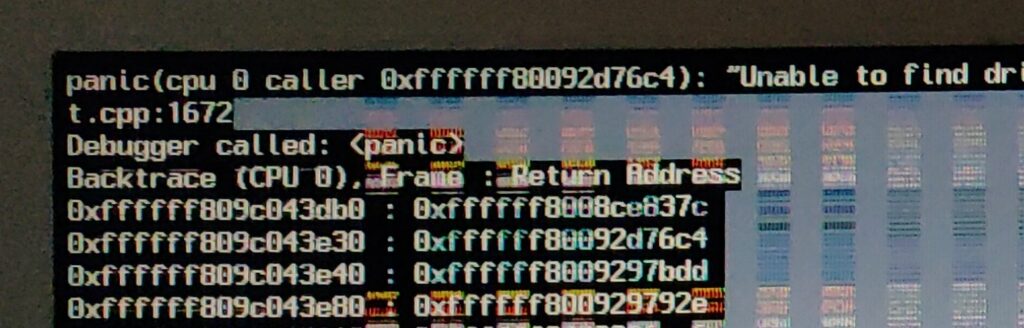
Part of the OpenWrt TD-W8970 installation instructions, which are in a linked forum post, advised me to use commands like “cat openwrt.image > /dev/mtdblock1” to install OpenWrt initially. What appears to have gone wrong is this did not successfully write all of the image file to the flash memory. Some blocks of flash remained blank. Then when rebooting the router, it just hung. I got in touch and was advised there are more reliable ways to do it. To recover, I had to buy a serial port to USB adapter, open up the router and solder on a serial header, and use the serial port recovery method.
At first, a few ordinary web sites failed to load.
According to a note near the end of the user guide “Dnsmasq DHCP server” page:
“If you use Adguard DNS … you need to disable [DNS] Rebind protection… If not, you can see lot of this log in system.log, and have lag or host unreachable issue.”
"daemon.warn dnsmasq[xxx]: possible DNS-rebind attack detected: any.adserver.dns"
I have read a lot more about this issue since then, to understand it better. I changed the setting, as suggested, and everything seems to work OK now.
I wish this issue would be explained more clearly, and with references. I am still not entirely comfortable that disabling the rebind protection is the best that could be done: it seems to me it would be better if we could accept just the “0.0.0.0” responses that this DNS sends while still protecting against any other local addresses.
After a while I decided to change the WiFi channel selection from 11 to Auto. Next day, our devices would not connect. Some of them would briefly attempt to connect and immediately disconnect, while others would not even show our WiFi network in their list.
It turned out the router had switched to channel 13. From what I have been able to learn, this is a valid channel to choose, although in the USA there are restrictions on the power level on channels 12 and 13. A lot of writers strongly advise only choosing among 1, 6, and 11. The rationale for this advice seems to originate from one particular study that may not be relevant in today’s common scenarios; some writers disagree and it’s not really clear. I wonder if the problem is that the firmware in many devices may not “like” connecting to channels above 11.
Whatever the precise cause, switching back to manually selected channel 11 seems to have solved the problem.
It was far from a breeze to install, and far from a breeze to configure.
LUCI is still not clear and helpful, although much improved. Examples:
I struggled with the OpenWrt “user manual”. For example, many of its pages say basically “help for FOO: to accomplish FOO, I pasted the following text into the config files in some unspecified version of OpenWrt,” without explaining what exactly FOO was meant to accomplish and its trade-offs and interactions.
I discovered by accident that the LUCI can show the commands for the settings changes, if you click the mis-named “unsaved changes” button which appears after pressing “save”.
That’s a great start. It could be developed into something so much better, a real configuration-as-code methodology. Nowadays that should be promoted as the primary way to manage the router. Instead of just “backup” and “restore” there should be facilites like diff the current config against a backup and revert selected differences. Tools should be promoted for managing the config externally from e.g. a version control system or Ansible.
When LUCI writes a config section, it changes settings that the user didn’t change. It seems to have its own idea about what a default config looks like, and this is different from the default config files supplied at start-up. This makes it difficult to manage the settings in version control. These spurious changes are shown in the LUCI pending changes preview. (It would be helpful if that preview included the option to revert selected changes, although that would not go far enough.)
How it should be done: The LUCI settings should always match the text config defaults, and that should be tested. This would come naturally when adopting configuration-as-code as the primary management method.
Finding settings to use for the ADSL connection was hard. My ISP PlusNet published a few basic settings (VPI/VCI, mux, user and password, etc.) but OpenWrt required other settings as well, and some of the settings didn’t exactly match.
The OpenWrt ISP Configurations page seems quite useful but says for example “Annex A, Tone A” whereas LUCI doesn’t have an option named exactly “Annex A”: its options include “Annex A+L+M (all)”, “Annex A G.992.1”, etc., and it doesn’t have an option for “Tone A” but instead “A43C+J43+A43”, “A43C+J43+A43+V43”, etc. This makes it really frustrating if one is not a DSL expert: I do not know which of the available options will work and which will not. When on my first try it would not connect (showing some sort of authentication error) I did not know which settings could possibly be the cause.
After a lot of reading and experimentation I noticed that the generated text configuration corresponding to each LUCI option gave me a strong clue: the generated config for tone “A43C+J43+A43” used the option code value “a” whereas for tone “A43C+J43+A43+V43” it used the code value “av”. That strongly suggested I should select the former. And similarly for “Annex”.
Finally I came across a small comment between two example configurations in that same page, that said I must also delete the ATM bridge that was set up by default. The LUCI description of “ATM Bridges” says, “ATM bridges expose encapsulated ethernet in AAL5 connections as virtual Linux network interfaces which can be used in conjunction with DHCP or PPP to dial into the provider network.” Not great. That didn’t help me at all.
After changing settings as best I could, and deleting that ATM bridge, it then worked.
How it should be made easier:
Hooray for Seedvault Backup! At last there is an open-source backup solution that can be built in to de-Googled Android-based phones such as those running LineageOS or CalxyOS. I should write more about why this is a fantastic development, but not right now.
This article is about something else: the importance of keeping a very clean default launcher experience for the Ordinary User, and how surprising the habits of the Ordinary User may seem to us if we are a developer or a Power User.
This story starts with Seedvault Backup currently (mid-2021) being relatively hard to find and awkward to access in the Android system settings menus. A developer proposed making it easier to find and access by adding a launcher icon for it. This would certainly make it easier to find and access. But here is the long version of my response to that proposal.
TL;DR: In my opinion it is probably best NOT to add a launcher icon by default, because that is not in the best interest of the ordinary user in their ordinary every-day activities. Basically, my argument is that an Ordinary User will treat it as set-and-forget settings, and will want to ignore it for nearly all of their life, so we shouldn’t insert an icon for it among their user apps.
The rest of this comment is rather long. It is not meant to be a rant, just a fuller explanation of why I make this suggestion, and I thought I might as well write it all down as it may not all be obvious to everyone.
I understand, it would indeed be nice to make the Seedvault UI a bit easier to find and access. It would especially be nice during the time I (the user) am setting up and testing the backup procedure, when I need to access it again and again. Let’s come back to this later, towards the end of this long comment. But I am not the ordinary user and this is not the usual way of using my phone, so let’s first think about the ordinary user in their ordinary usage.
I have had the privilege of watching a real Ordinary User recently and this is what I found in real life. The “ordinary user” I speak of is quite surprising to us techies: it is a person who is focused on their own activities and does not care to spend time understanding or interfering with how their phone is working. In fact we might consider them to be neglecting their phone’s needs and health. This ordinary user does not want to customize their phone: they do not even add favourite apps to their home screen! They just find them in the launcher or in recents. This ordinary user does not care about keeping the software up to date, they only do so if a pop-up forces them to, otherwise they ignore it. This ordinary user does not even bother to dismiss their notifications! That’s an optional extra thing they don’t need to do, they don’t want to waste their brain space on it, they just want to do something particular with some particular app right now and then shut the phone.
A typical default launcher such as on LineageOS shows all the user apps, plus just one “Settings” icon. That seems an intentional and user-focused way to organize things. The ordinary user likes to get some help setting up the phone, and then forget about it. They don’t need or want to visit what they regard as low-level settings like these again, so they don’t need easy access to them. Additional icons added to the launcher are just clutter that get in the way of them finding their user apps.
I noticed that LineageOS-for-microG adds a second settings icon for microG settings. In a small way, that is already prioritising the interests of power users and developers and techies while starting to degrade experience for the ordinary user. Let us not copy that mistake.
Backup, and microG-settings, are far from the only system settings that some users might sometimes like shortcuts for. They are just two of many. It should certainly be made possible for a ROM maker or a power user to create shortcuts to settings and settings-related apps such as Seedvault, and also to particular activities within it, so that such developers or power users can make a page of settings shortcuts if they want to. That would make sense, for example, with a launcher that allows creating sub-groups of launcher icons. But while making such things possible, let us not underestimate the importance of getting the default experience right for ordinary users.
Now back to the topic of making Seedvault easier to access for those users and those times when that’s needed, a few minor suggestions:
Maybe we can think of more ways to make it findable when it’s needed without showing anything when it’s not needed.
(My versions: Seedvault 11-1.2, on LineageOS-for-microG 18.1 3-September-2021, on a OnePlus 6 “enchilada”)