This page contains our notes about our proposed solar PV installation.
“A little knowledge is a dangerous thing”, so the saying goes. I am no expert on these matters, just technically savvy and curious to learn and understand it all. I’m hot on electrics, physics, geometry, calculation; but weak on the practicalities in this industry. That’s why we’re approaching installers for their expertise in design and installation. Not everything here may be correct or make sense.
I am learning as I go along, starting in November 2022.
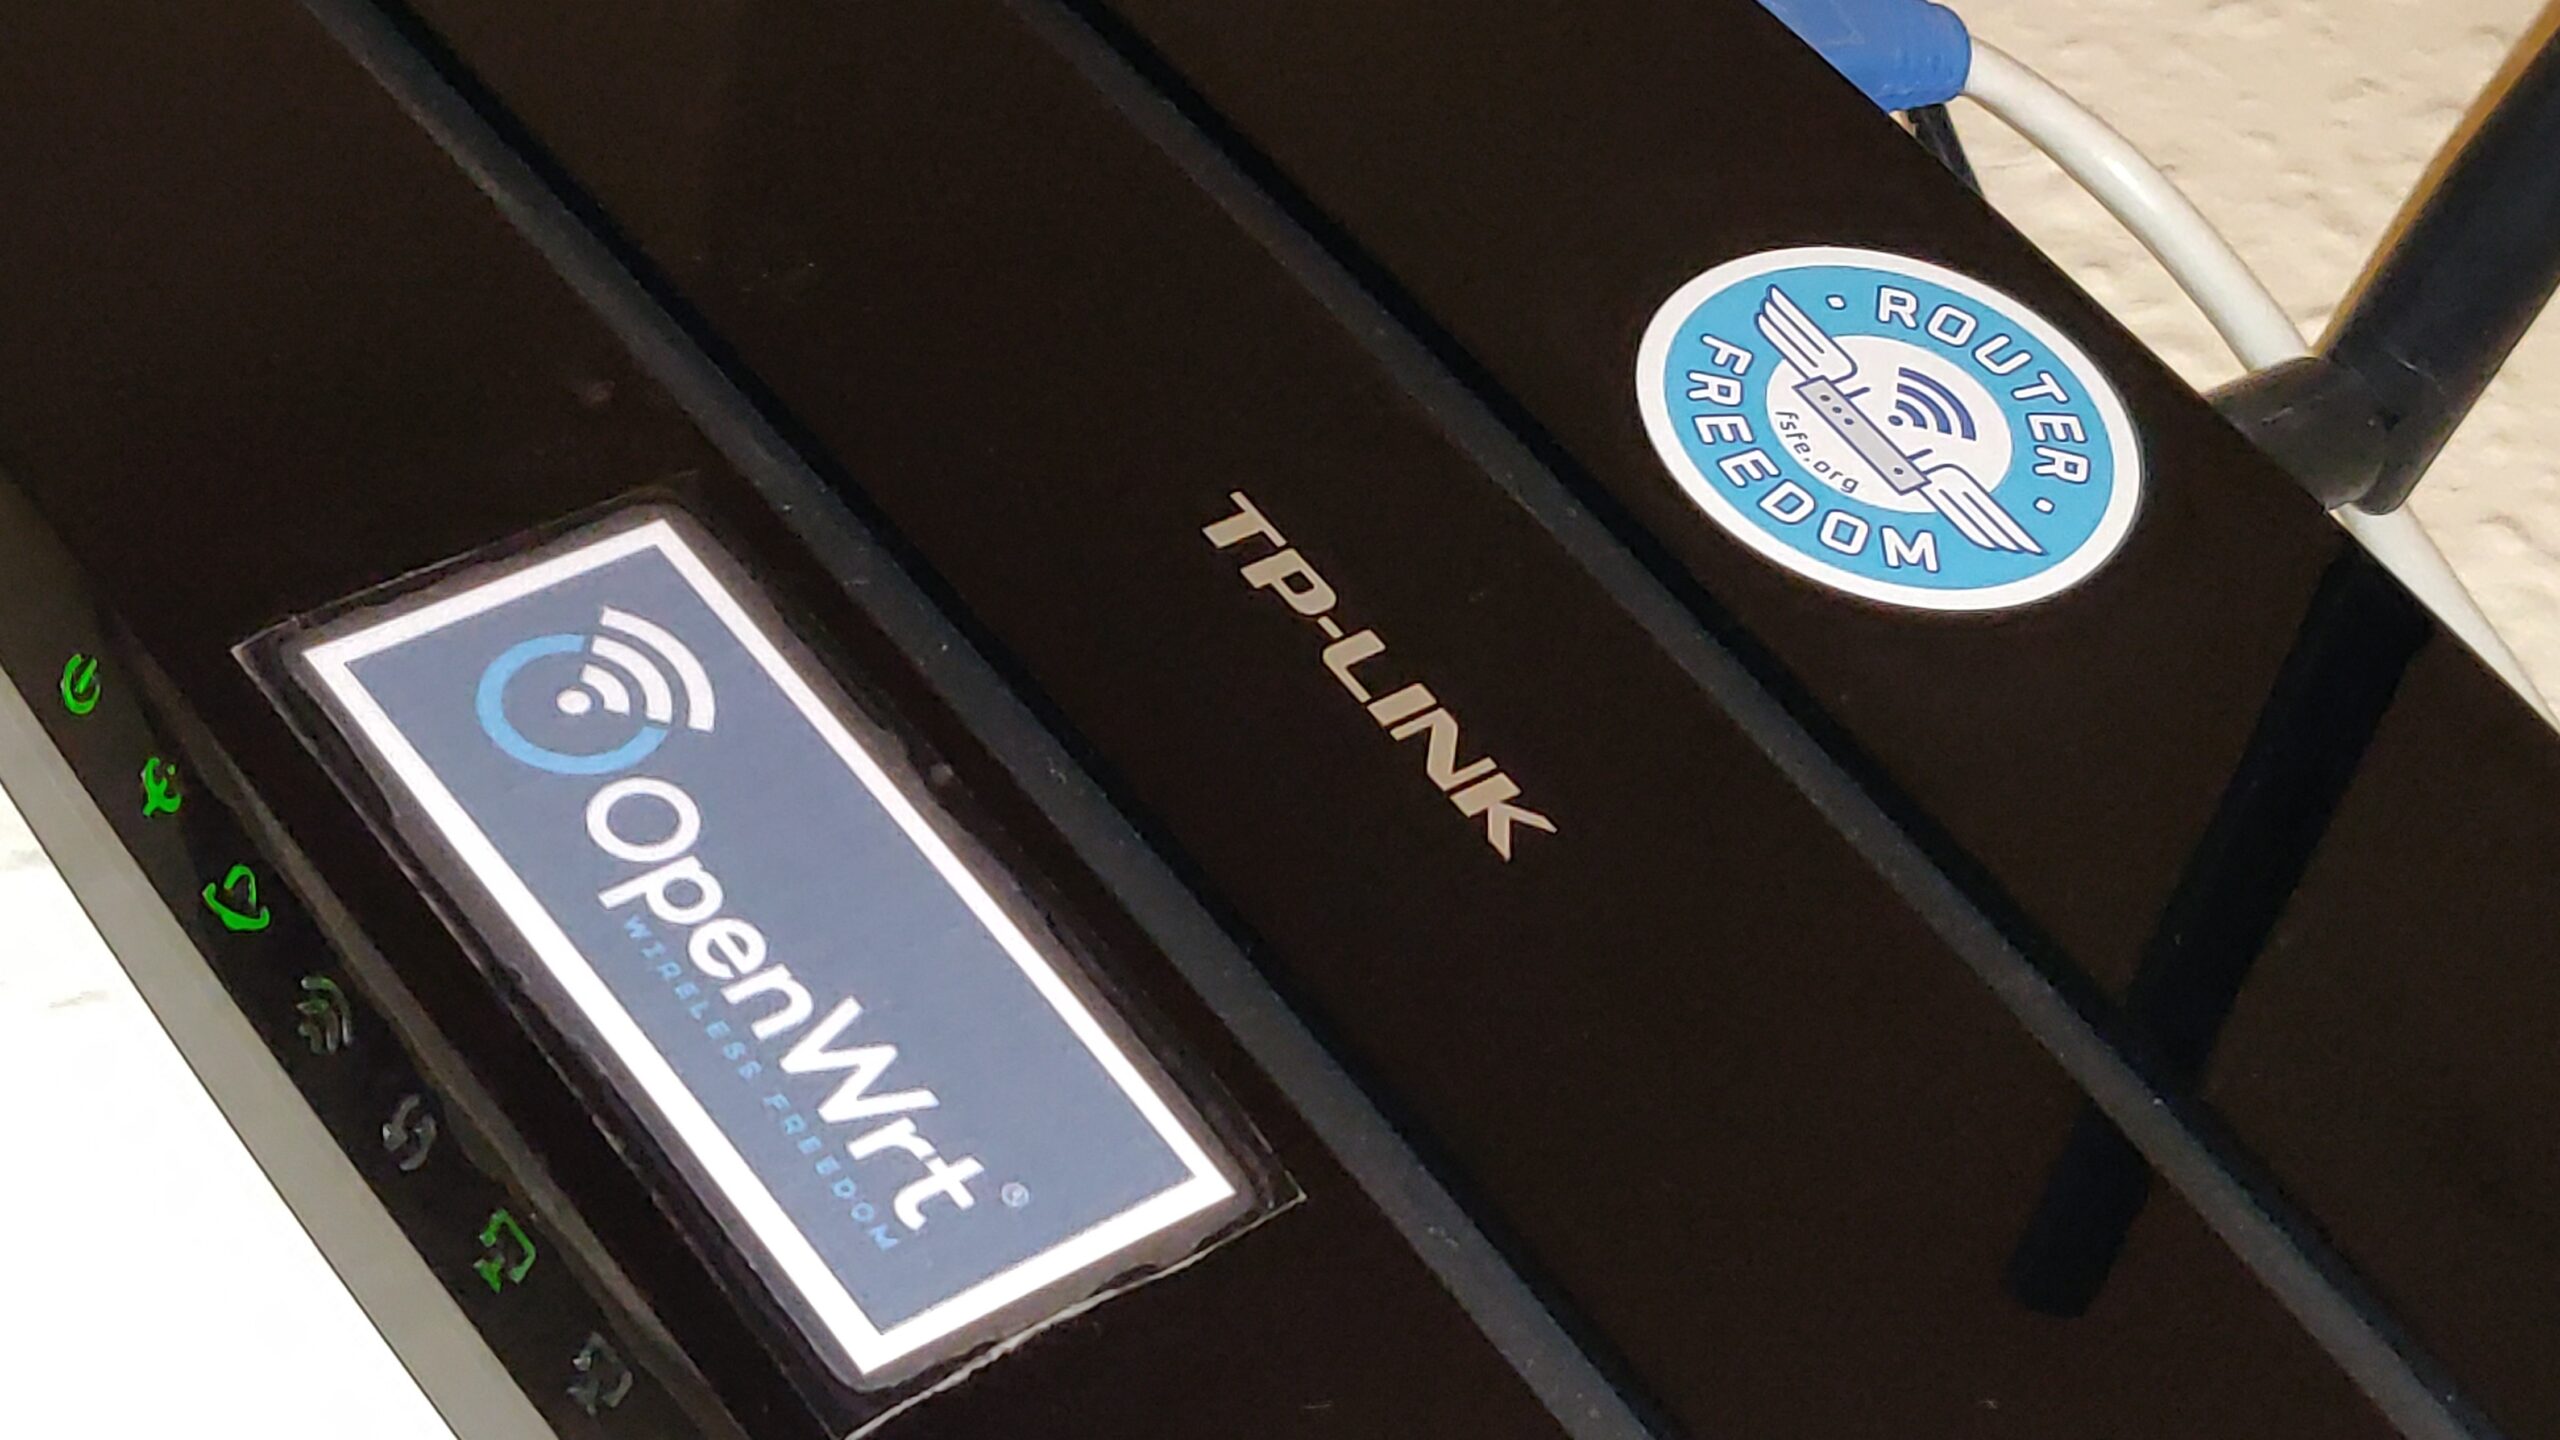
I am running an OpenWrt open-source router, at last.
OpenWrt: Wireless Freedom
Dave kindly donated me the hardware three years ago, when I spent many happy and frustrating hours installing OpenWrt for the first time, bricking it, recovering by connecting a serial port inside it, and eventually finding the OpenWrt configuration interfaces at that time were just too complicated for me to navigate.
It sat on my desk ever since then, unused.
What changed?
The old noddy little router
This week, our noddy little ISP-provided router keeled over.
All I did was try to change its upstream DNS server addresses to point to AdGuard’s ad blocking service. There was a simple web UI to enter the addresses, but, after doing so, its web UI promptly and permanently died and would not come back. Its DNS gateway function and SSH access died too, while some functions such as its basic routing and port forwarding continued. I tried power-cycling the router, of course, but avoided doing a factory reset because then I would lose my port forwarding that provides access to my self-hosted services such as Matrix and contacts and calendar, and would not be sure I could reconfigure everything. I was able to regain internet access temporarily, by manually configuring each of our devices to use external DNS server addresses instead of the router’s local address.
Well, I didn’t like that router anyway. Its UI was slow and awkward, its features were very bare and its WiFi was weak. (It was a Sagemcom 2704N, also branded PlusNet and Technicolor.)
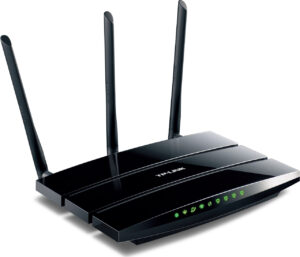
So it was that I took a second look at this TP-LINK TD-W8970 router.
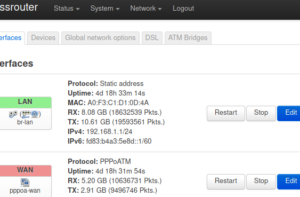
A pleasant surprise awaited: I found that OpenWrt had just the previous week released a major update, a 2021 version, a year and a half since their previous 2019 version, and it looks much more polished. A quick in-place firmware upgrade, followed by many hours figuring out how to make and manage the configuration, resetting, starting again from defaults, and it’s now all working. ADSL WAN connection, wired, wireless, and my port forwarding rules for my servers, and some bits of static DHCP and static DNS hostname entries.
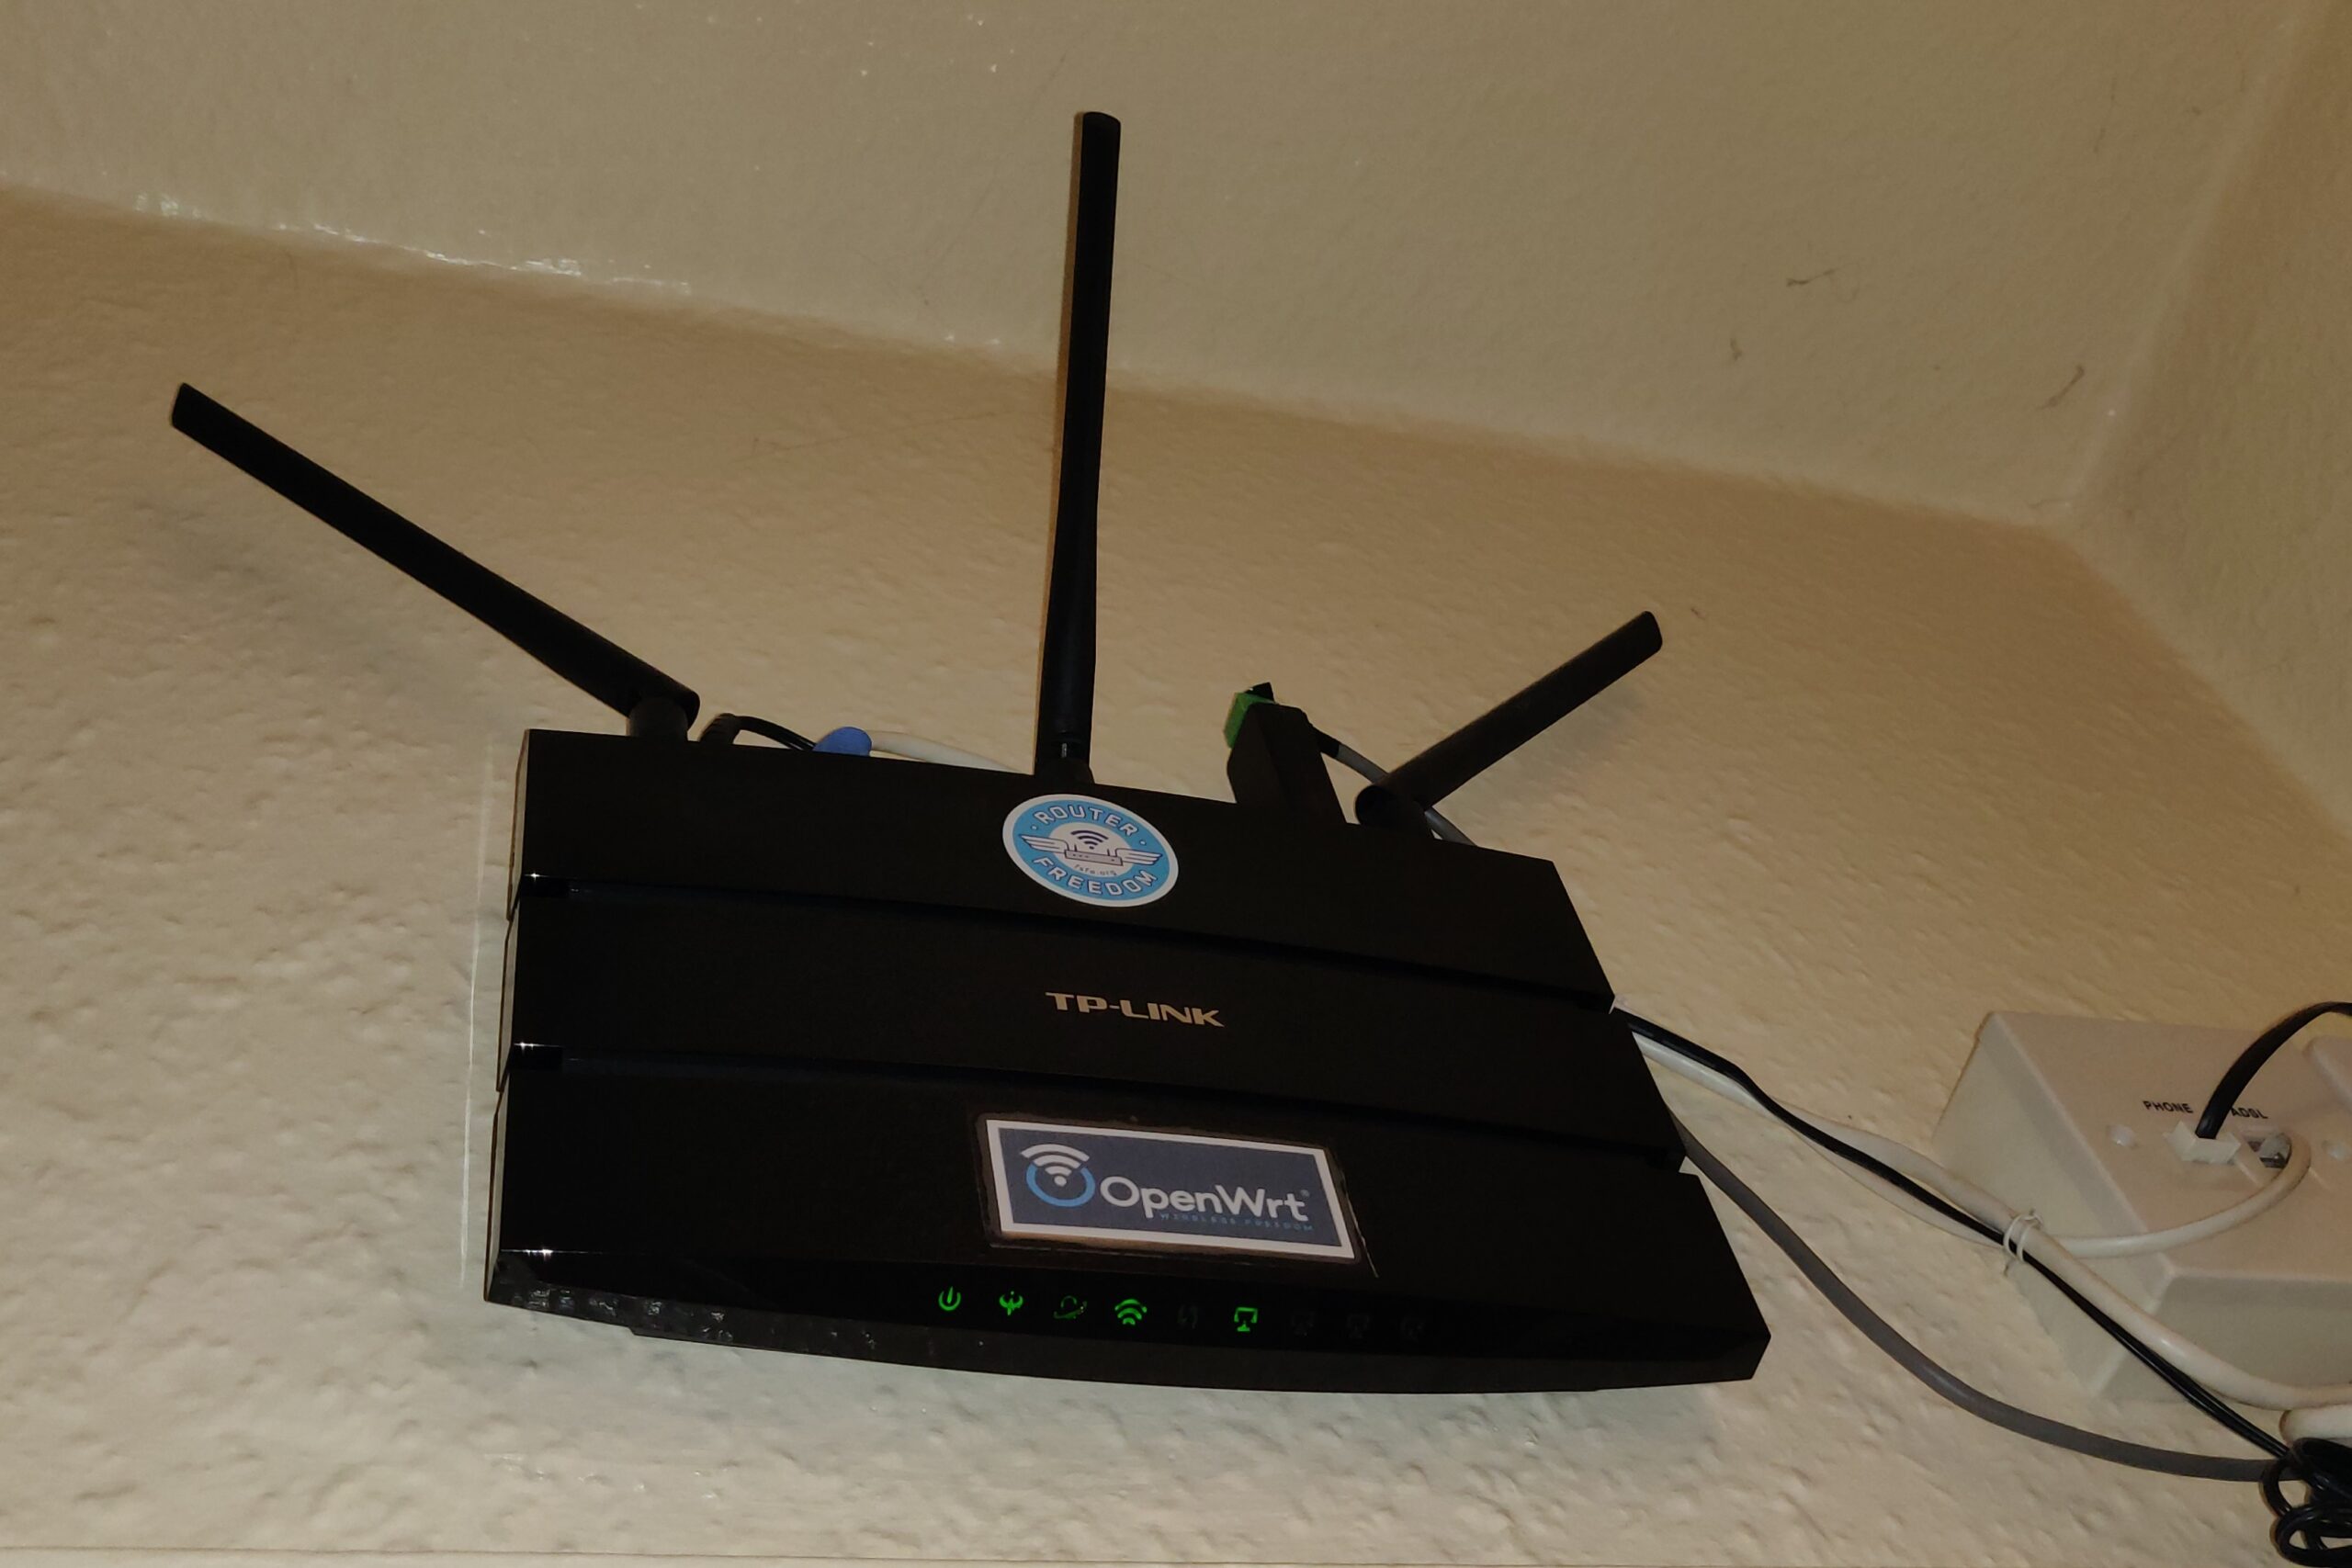
Where the previous router had hung lopsided from one screw, to make a better impression and improve its chances of acceptance by the family I screwed it neatly to the wall and tidied the wires.
The Ordinary User May Appreciate…
TP-LINK TD-W8970 v1
ad-blocking
stronger WiFi signal now covering the whole house and garden
faster
None of these benefits seen by the ordinary user are unique to OpenWrt, of course.
Ad blocking was the trigger for this whole exercise. I had previously been considering self-hosting either Pi-Hole or Adguard-Home. Recently I learned that AdGuard DNS service is currently available free of charge, simply by setting it as the router’s DNS server address (or, less conveniently, by overriding the setting in individual devices). While less comprehensive and customisable than a self-hosted ad-blocking DNS server, for the time being the convenience and simplicity of this solution wins.
The new router is faster in a few ways: faster WiFi connection speeds; faster access to self-hosted services such as backups enabled by gigabit ethernet (up from 100 Mbit) for the wired connection; and (probably) some faster software operations such as DNS where the previous router often seemed responsible for delays of several seconds.
The Self-Hoster Appreciates…
Configuration Example
Where OpenWrt shines is in the features I use for self-hosting services, and how I will be able to manage it over time.
Because it’s open-source software:
reassurance that the software cannot be abandoned at the whim of some company;
strong support for open and standard and modern protocols, e.g. mesh WiFi, encrypted DNS standards, standard Unix admin tools;
likely to be upgraded to add new features, support new security measures;
I can keep my configuration if I need to buy new or different hardware, because the same software runs on many devices;
many optional add-on features contributed by community members;
Because it’s software for professionals:
full IPv6 support, alongside IPv4;
strong WiFi features, e.g. multiple networks (trusted vs. guest);
strong network protocols support, e.g. tagged VLANs, switch control protocols;
configuration stored as text, so can be managed by external tools like Ansible and version control, and re-configured from scratch by one automated script (“configuration as code”, “infrastructure as code”);
Things That Went Wrong
Bricking the device during initial installation
Part of the OpenWrt TD-W8970 installation instructions, which are in a linked forum post, advised me to use commands like “cat openwrt.image > /dev/mtdblock1” to install OpenWrt initially. What appears to have gone wrong is this did not successfully write all of the image file to the flash memory. Some blocks of flash remained blank. Then when rebooting the router, it just hung. I got in touch and was advised there are more reliable ways to do it. To recover, I had to buy a serial port to USB adapter, open up the router and solder on a serial header, and use the serial port recovery method.
Some web sites would not load
At first, a few ordinary web sites failed to load.
According to a note near the end of the user guide “Dnsmasq DHCP server” page:
“If you use Adguard DNS … you need to disable [DNS] Rebind protection… If not, you can see lot of this log in system.log, and have lag or host unreachable issue.”
"daemon.warn dnsmasq[xxx]: possible DNS-rebind attack detected: any.adserver.dns"
I have read a lot more about this issue since then, to understand it better. I changed the setting, as suggested, and everything seems to work OK now.
I wish this issue would be explained more clearly, and with references. I am still not entirely comfortable that disabling the rebind protection is the best that could be done: it seems to me it would be better if we could accept just the “0.0.0.0” responses that this DNS sends while still protecting against any other local addresses.
WiFi Would Not Connect
After a while I decided to change the WiFi channel selection from 11 to Auto. Next day, our devices would not connect. Some of them would briefly attempt to connect and immediately disconnect, while others would not even show our WiFi network in their list.
It turned out the router had switched to channel 13. From what I have been able to learn, this is a valid channel to choose, although in the USA there are restrictions on the power level on channels 12 and 13. A lot of writers strongly advise only choosing among 1, 6, and 11. The rationale for this advice seems to originate from one particular study that may not be relevant in today’s common scenarios; some writers disagree and it’s not really clear. I wonder if the problem is that the firmware in many devices may not “like” connecting to channels above 11.
Whatever the precise cause, switching back to manually selected channel 11 seems to have solved the problem.
Struggles
It was far from a breeze to install, and far from a breeze to configure.
The OpenWrt web UI (LUCI)
LUCI is still not clear and helpful, although much improved. Examples:
understanding how to set upstream DNS (on WAN interface, in LAN interface, in DHCP settings, in all of these?);
same for how to set local domain name (3 places to choose) and what the consequences are.
Poor documentation
I struggled with the OpenWrt “user manual”. For example, many of its pages say basically “help for FOO: to accomplish FOO, I pasted the following text into the config files in some unspecified version of OpenWrt,” without explaining what exactly FOO was meant to accomplish and its trade-offs and interactions.
Configuration as code
I discovered by accident that the LUCI can show the commands for the settings changes, if you click the mis-named “unsaved changes” button which appears after pressing “save”.
That’s a great start. It could be developed into something so much better, a real configuration-as-code methodology. Nowadays that should be promoted as the primary way to manage the router. Instead of just “backup” and “restore” there should be facilites like diff the current config against a backup and revert selected differences. Tools should be promoted for managing the config externally from e.g. a version control system or Ansible.
Inconsistent defaults
When LUCI writes a config section, it changes settings that the user didn’t change. It seems to have its own idea about what a default config looks like, and this is different from the default config files supplied at start-up. This makes it difficult to manage the settings in version control. These spurious changes are shown in the LUCI pending changes preview. (It would be helpful if that preview included the option to revert selected changes, although that would not go far enough.)
How it should be done: The LUCI settings should always match the text config defaults, and that should be tested. This would come naturally when adopting configuration-as-code as the primary management method.
Finding what (A)DSL settings to use
Finding settings to use for the ADSL connection was hard. My ISP PlusNet published a few basic settings (VPI/VCI, mux, user and password, etc.) but OpenWrt required other settings as well, and some of the settings didn’t exactly match.
The OpenWrt ISP Configurations page seems quite useful but says for example “Annex A, Tone A” whereas LUCI doesn’t have an option named exactly “Annex A”: its options include “Annex A+L+M (all)”, “Annex A G.992.1”, etc., and it doesn’t have an option for “Tone A” but instead “A43C+J43+A43”, “A43C+J43+A43+V43”, etc. This makes it really frustrating if one is not a DSL expert: I do not know which of the available options will work and which will not. When on my first try it would not connect (showing some sort of authentication error) I did not know which settings could possibly be the cause.
After a lot of reading and experimentation I noticed that the generated text configuration corresponding to each LUCI option gave me a strong clue: the generated config for tone “A43C+J43+A43” used the option code value “a” whereas for tone “A43C+J43+A43+V43” it used the code value “av”. That strongly suggested I should select the former. And similarly for “Annex”.
Finally I came across a small comment between two example configurations in that same page, that said I must also delete the ATM bridge that was set up by default. The LUCI description of “ATM Bridges” says, “ATM bridges expose encapsulated ethernet in AAL5 connections as virtual Linux network interfaces which can be used in conjunction with DHCP or PPP to dial into the provider network.” Not great. That didn’t help me at all.
After changing settings as best I could, and deleting that ATM bridge, it then worked.
How it should be made easier:
define a way of publishing a DSL configuration online as a structured code block (could be the OpenWrt config language, for a start);
make LUCI able to accept a whole DSL definition in a single cut-and-paste operation (a text config box);
start a database of these (encourage this to be maintained by the community; make it distributed);
add a “search in database(s)” function for these in LUCI.
Close
No ad-blocker?
Dear visitor, this is from me, Julian, not a commercial/legal pop-up. More...
I'm a quiet person, enjoying a quiet and safe online experience. If you'd like that too, consider installing a browser extension, an ad blocker. We all should. It hides the insidious ads. It also blocks malicious surveillance and tracking scripts, protecting our privacy and security. Learn how and why: shouldiblockads or Stefan Bohacek.
You may close this message. Unless you clear cookies I won't bring it up again. And sorry if this detector erred. --Julian